
How to make your very own butter at home using one simple ingredient: Heavy cream. With so many butters to choose from at the supermarket, why would you ever want to make my own? Once you’ve tried homemade butter, you’ll find out why.
My sister sent me a TikTok a few months ago of a woman making butter at home using heavy whipping cream, and I couldn’t believe how simple the process was.
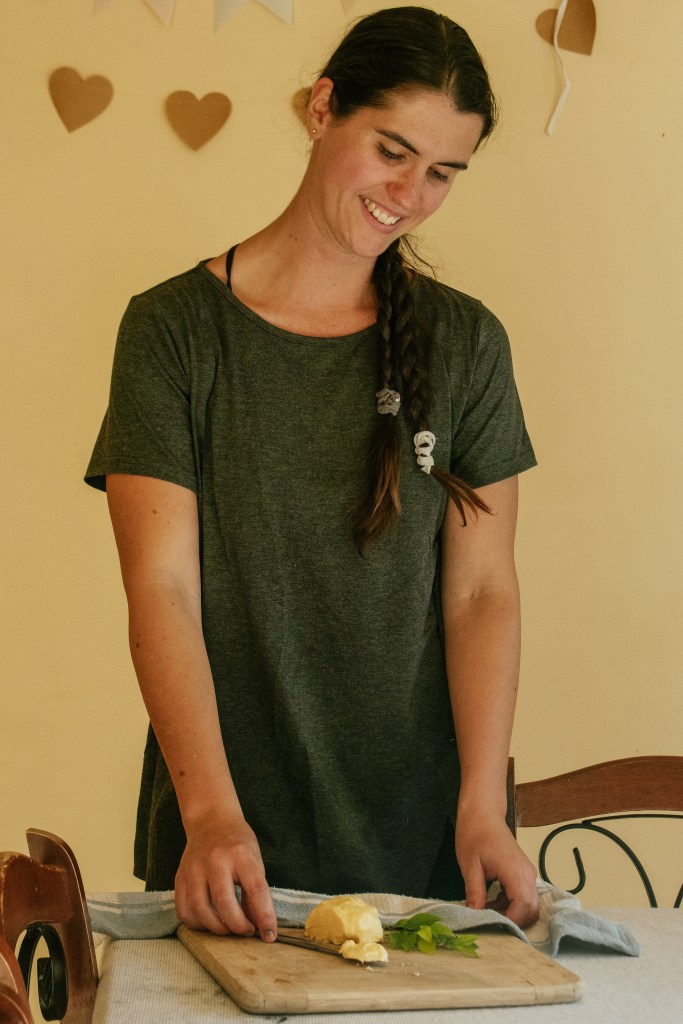
I decided I had to try it myself. So I went to my local health food store, Flannerys, and bought a couple of tubs of biodynamic organic heavy cream to make some butter with.
I was a little sceptical at first, as I thought there must be some trick to it. How could it possibly be so simple? But after trying it out myself, and seeing that it really is as simple as it looks, I started making butter a regular staple again in my cooking. No need to buy it from the store when it’s that easy to make at home.


How Does Homemade Butter Differ from Store-Bought?
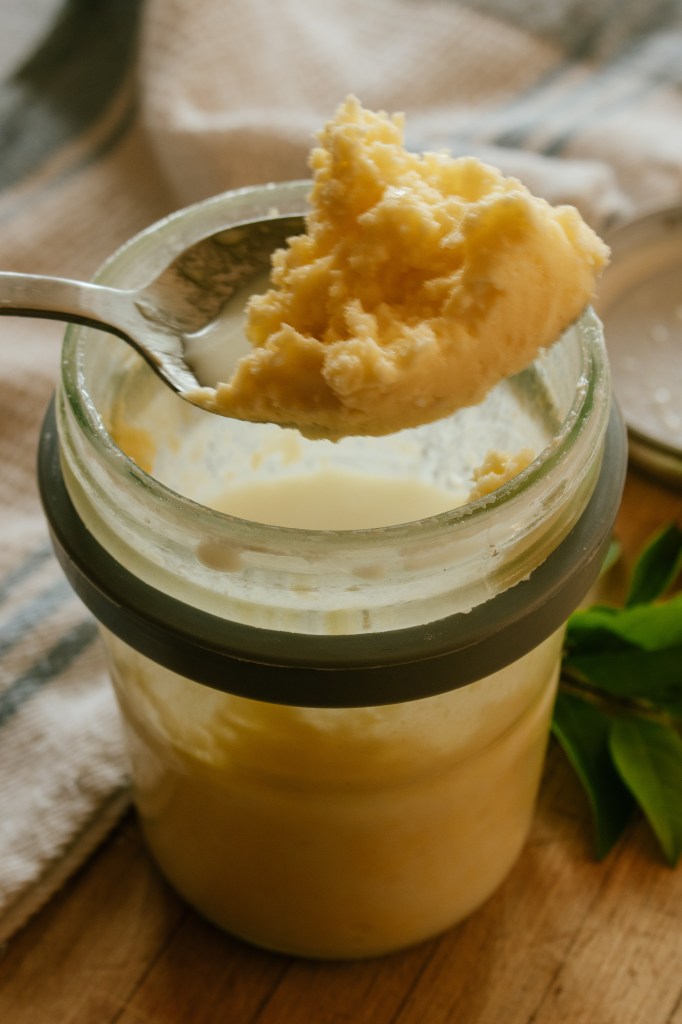
Homemade butter tastes unbelievably fresh and creamy. I tested my first batch of homemade butter against my favourite organic butter brand, and the difference was quite prominent: Homemade butter tastes really fresh, unlike butter that’s been sitting on the store shelf for some time.
When you make your own butter, you can also add and adjust the amount of salt you want to use. If you’re looking to replicate the salt level of store-bought butter, use a 1/4 of a teaspoon of fine Himalayan pink salt or Celtic salt per 4 ounces (113g) of homemade butter.
Another difference is that homemade butter is soft and malleable before being chilled in the refrigerator, which makes it perfect for cooking with as it’s already soft, and doesn’t need to be softened beforehand unlike store-bought varieties.


When it comes to using homemade butter in baking, King Arthur Baking shares a wonderful note on what to keep in mind when switching to homemade butter instead of store-bought butter in baking. ‘The level of water in purchased butter is strictly controlled, and recipes are always written with this level in mind. On the other hand, the level of water in homemade butter can vary (by about 12% in my experiments) depending on how thorough you are in separating butter from buttermilk. Does this variance matter? Not if you realize your process or results may vary slightly. If you’re making pie crust, for instance, you might simply have to adjust the amount of water you use by a teaspoon or so. If you’re using homemade butter that’s retained a lot of its liquid buttermilk to make cookies, they may settle and spread a bit more.’
For more information on how the different types of butter will affect your baking, see here.


Now, when it comes to pricing, homemade butter can be a little more pricey depending on the butter you usually buy. For example, if butter is discounted at the supermarket it will be cheaper than homemade butter. But if you can get a great price on the heavy cream you’ll be using to make the butter, and you choose not to wring out as much of the buttermilk during the finishing process, you can make quite a substantial amount of butter from a 400g tub of cream.
Before we get started in learning how to make butter at home, if you like what you’re seeing, subscribe to my email newsletter at the bottom of the page to keep up to date on the latest recipes, DIYs, gardening and health tips I share!!


How to make Butter at Home
Within about ten minutes, you can turn cream into solid butter to use on toast, in cooking, baking or however you like.
The method for making homemade butter is pretty much exactly the same whether you are using a jar, hand whisk, electric hand mixer, stand mixer, food processor or blender.
Makes approximately 1 cup of butter
Ingredients:
- 450g (2 cups) heavy cream, chilled
- 1/2 tsp ground sea salt, pink Himalayan salt, or Celtic salt (optional)
To make:
- If using a jar to make the butter, begin by pouring the chilled heavy cream into a tall glass jar an cap the lid. Vigorously shake the jar up and down using a lot of force to ‘whip’ the cream. This can take 10-15 minutes, depending on how fast and how forceful you shake the jar (it’s a great workout).
- If using a food processor or high speed blender, place the cream into the processor or blender and process on high until the butter separates, about 10 minutes.
- If using a hand mixer or stand mixer, pour the cream into the bowl of your mixer and, using the whisk beater, beat the cream on medium speed until the cream starts to thicken, about one minute. From there, increase the speed to medium-high. After about two minutes the cream will start to become a bit rough and lose its smoothness. Between the four and five minute mark the butter will start to separate. When this happens, quickly drape a tea towel over the mixer to prevent the buttermilk spraying everywhere. Once the butter and buttermilk have completely separated and settled to the bottom of the bowl, stop the mixer.
- The cream will go through three stages before it gets to butter. First, the cream will turn into whipped cream. After that, stiff peaks will begin to form, and the buttermilk will start to separate from the butterfat. Finally, you will have solid butter with buttermilk sitting at the bottom.
- Pour the buttermilk into a separate jar for storage (this can be used to make buttermilk pancakes), and place the solid butterfat on a fine mesh strainer set over a bowl and begin squeezing the butter with your hands to remove any remaining buttermilk. Pour the liquid into the jar with the rest of the buttermilk and keep it in the fridge until you’re ready to use.
- Place the butter into a bowl of ice cold water to remove any residual buttermilk. This will need to be done a few times until the water is fairly clear.
- Add some sea salt to the butter and work it into the butterfat with your hands. Or, alternatively, leave it unsalted.
- Transfer the butter to a butter mould and place it in the fridge to set. Remove the hardened butter from the mould and store it in an airtight container in the fridge. Alternatively, transfer the butter straight into a glass jar or container and store it in the refrigerator for up to three weeks.


As always, this is not personal medical advice and we recommend that you talk with your doctor before trying or using any new products. I am not a doctor. All opinions expressed are my own personal thoughts and feelings of the products mentioned. Check with your doctor or health practitioner if you are uncertain about trying out any of the products, recipes or tips mentioned in this post.
Have you made butter before? What method did you use? Share in the comments below.
Lots of love,
Vanessa


